How to Sew a Button Like a Pro
Your Complete Repair Guide - Step by Step
Don't Toss It, Fix It: The Simple Art of Sewing a Button
In a world of fast fashion, it's easy to think of our clothes as disposable. A missing button might seem like the end of the road for a beloved shirt, destined for the back of the closet or, even worse, the bin. But what if we told you that with just a few minutes and a skill your grandparents probably knew by heart, you can give that shirt a new lease on life?
At OV Market, we believe in the power of well-made goods and the value of keeping them in use for as long as possible. That's why we're passionate about not just what you buy, but how you care for it. Learning a simple skill like sewing on a button is more than just a quick fix; it's a step towards a more sustainable and mindful way of living.
The Quiet Joy of Mending
There's a certain satisfaction that comes from repairing something with your own hands. It's a small act of self-reliance that connects you to your belongings in a more meaningful way. When you take the time to mend a garment, you're not just restoring its function; you're adding to its story.
A Skill for Everyone
Sewing a button isn't a task reserved for the gifted. It's a fundamental life skill that's surprisingly easy to learn. Whether you're a college student on a budget, a busy professional, or someone who simply appreciates quality craftsmanship, knowing how to do this simple repair can save you time and money.
Ready to give it a try? We've put together a simple, step-by-step guide to help you master the art of sewing on a button.
How to Sew a Button: A Step-by-Step Guide
A loose or missing button is a common wardrobe malfunction, but it's a simple fix that anyone can master. With just a few basic supplies and a little time, you can have your shirt looking as good as new.
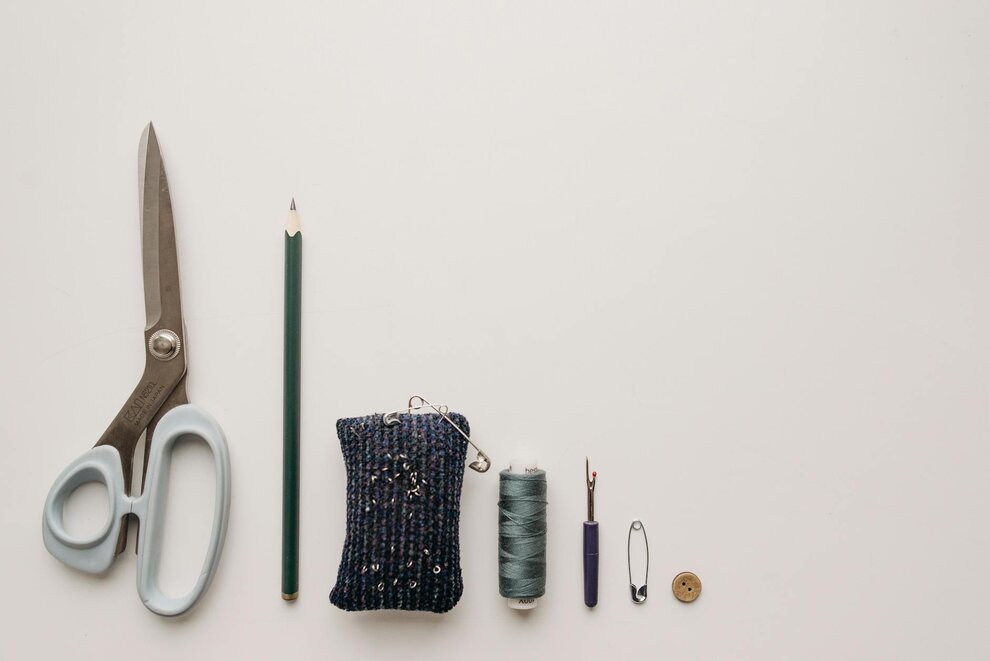
What You'll Need:
Replacement button: If you have the original button, great! If not, most shirts come with a spare button sewn onto the inside tag or seam. Check here first before buying a replacement.
Thread: Choose a thread that matches the color of the other buttons on your shirt. If you can't find an exact match, a neutral color like white, black, or beige is a safe bet. For a stronger hold, use a double thread.
Sharp needle: A standard sewing needle (medium-sized) will work perfectly.
Small scissors: For cutting the thread
Thimble (optional): But helpful for protecting your finger
Step 1: Prepare Your Workspace
Find a well-lit area and lay your garment flat on a clean surface. If you're replacing a loose button, carefully remove it by cutting the existing threads with scissors or a seam ripper. Be careful not to damage the fabric.
Step 2: Thread Your Needle
Cut approximately 24 inches of thread (about the length from your fingertip to your elbow). Thread the needle and tie a knot at the end. For extra strength, you can double the thread by folding it in half and tying both ends together.
Step 3: Mark the Button Position
If replacing a button, look for small holes or marks where the original button was attached. For shirts, buttons are typically positioned about ⅜ inch from the center front edge. You can also use the corresponding buttonhole as a guide by laying the shirt flat and marking where the button should align.
Step 4: Create the Foundation
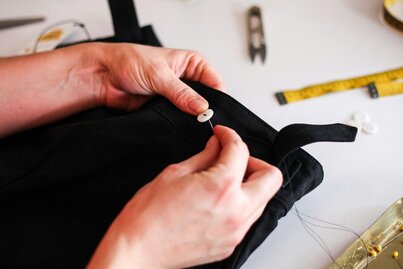
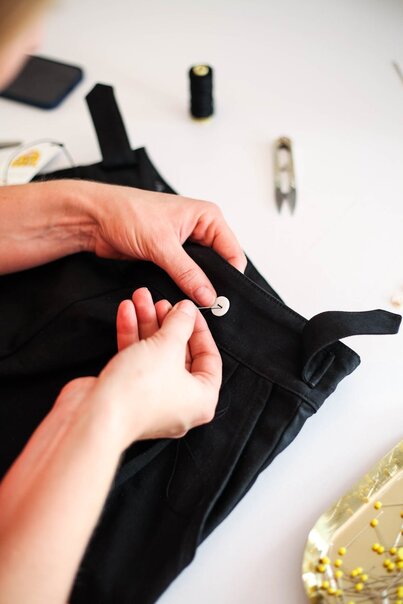
Push the needle up through the fabric from the back side where you want to attach the button. Pull the thread through until the knot catches on the back of the fabric.
Step 5: Attach the Button
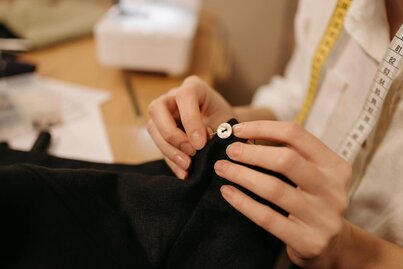
Place the button on top of the fabric where the thread emerged. Push the needle down through one of the button's holes and back up through the fabric and another hole. If your button has four holes, work diagonally (1 to 3, then 2 to 4) or create an "X" pattern.
Step 6: Create a Thread Shank
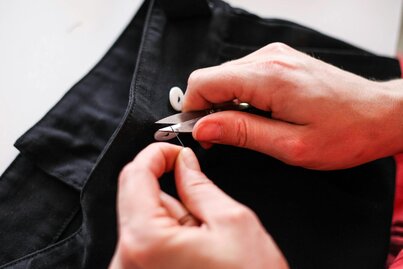
This is crucial for proper button function. After making several stitches through the button holes, bring the needle up through the fabric but not through a button hole. Wrap the thread around the threads beneath the button 3-4 times to create a small "stem" or shank. This gives the button room to move when fastened.
Step 7: Secure Your Work
Push the needle to the back of the fabric and make a small knot close to the fabric. For extra security, make a few tiny stitches in the same spot, then trim the excess thread.
Step 8: Test the Button
Gently tug on the button to ensure it's securely attached, then test it with the corresponding buttonhole to make sure it functions properly.
Professional Tips for Perfect Results
Choose the Right Thread: Cotton thread works best for cotton fabrics, while polyester thread is ideal for synthetic materials. When in doubt, polyester thread is versatile and strong.
Don't Skip the Shank: The thread shank is what allows the button to sit properly when fastened. Without it, your shirt will pucker and pull around the button.
Match Your Stitching Pattern: Look at how other buttons on the garment are sewn and replicate the same pattern for consistency.
Quality Matters: Invest in good-quality replacement buttons that match the weight and style of your original buttons. Cheap buttons can break easily and detract from your garment's appearance.
Join the Repair Revolution
By choosing to repair rather than replace, you're not just saving a shirt. You're reducing waste, conserving resources, and making a conscious choice to move away from a throwaway culture. It's a small change that can have a big impact.
So next time a button pops, don't despair. Grab a needle and thread, and embrace the simple, satisfying art of the fix